Custom skins
DART's user-skin system lets you repaint any runner with a PNG — or re-texture the actual model — and see it in-game with 1:1 shading. Skins are folders you can zip and share.
Get the template
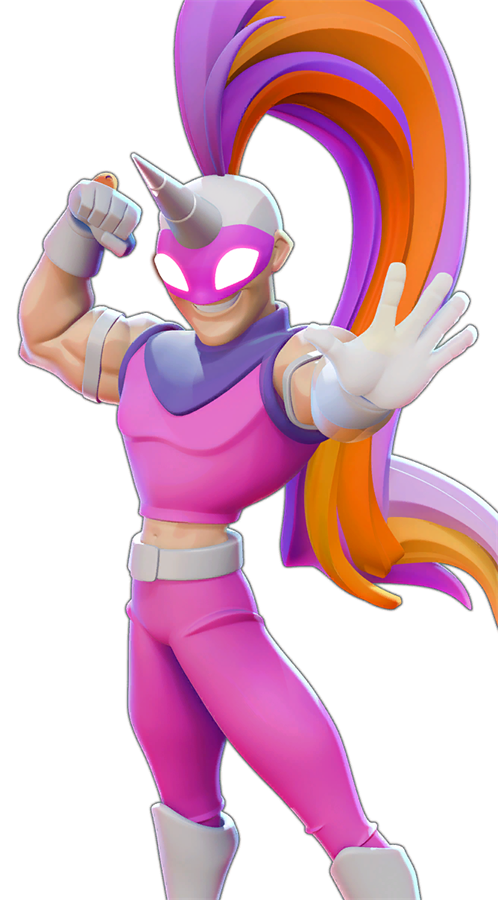
Open the F2 menu › Skins, pick a character and download its rig template: a zip with the model and its BaseColor textures, exactly as the game uses them.
Paint
Edit the BaseColor PNG in any image editor. Keep the resolution and the UV layout; only change colours and details. Characters with a separate head or hair material (and props such as Salem's broom) have their own PNGs you can paint too.
Create
Skins › Create new skin: choose the character, name it, point DART at your PNG — or at a re-textured
.glb/.gltf, from which DART extracts the textures — set the outline colour and width and the brightness, press Create. DART converts it and it appears in the list.Toggle & share
Turn it on in the list. Export writes a zip you can post in Discord; Import skin (.zip) (or dropping a zip into the DART.skins folder) installs skins others made.
Where skins live
%USERPROFILE%\AppData\LocalLow\tinyBuild\SpeedRunners 2\DART.skins\<skin>\ — one folder per skin with its converted textures and a meta.txt. Updates never touch this folder, and a skin that is turned off stays installed.
Custom models
Beyond textures, DART can load offline-built custom meshes for a character. That is an advanced workflow (Blender + the DART model tooling) — ask in the Discord and the modders will point you at the current guide.